Valentine’s Day looms near, and whether you celebrate it or not, this cake is a great way to show your affection for those you love (including yourself!). If pastel pink isn’t your thing you can always go for a more Gothic colour scheme with black and red, or perhaps something entirely different; it’s completely up to you. When finished, you’ll have your very own edible heart-shaped candle cake, perfect for setting the romantic mood!
Ingredients
Sponge cake
200g cake flour (170g plain flour plus 30g cornflour)
5 egg whites
180ml whole milk
1 tsp vanilla extract
Food colouring of choice*
270g caster sugar
3 tsp baking powder
A pinch of salt
130g unsalted butter (just cooler than room temperature)
White chocolate and raspberry buttercream
2 tbsp double cream
115g white chocolate (grated or broken into small pieces)
170g unsalted butter (room temperature)
290g icing sugar
½ tsp vanilla extract
6g freeze-dried raspberry pieces (I used half a 12g container from Lakeland)
Food colouring of choice
Jam filling
Jar of blackberry jam, i.e. bramble preserve (or similar alternative)
White chocolate ganache
60ml double cream
130g white chocolate (grated or broken into small pieces)
Food colouring of choice
A single plain birthday candle
*For food colourings, I recommend the AmeriColor range. Finding a good red is quite difficult, but if you’re willing to pay a little more, these are very effective. I love to use the neon colours; they’re always great to have in the cupboard and make baking a lot more fun!
Method
Sponge cake
- Grease and line two 7-inch sandwich cake tins and preheat the oven to 180°C/165°C fan.
- Combine the plain flour with the cornflour in a large bowl and then sift into another bowl. Repeat this several times, alternating between the two bowls, until you have a fine flour. Set aside.
- In a medium bowl, whisk the egg whites for 1-2 minutes until you have a frothy white consistency. Add the milk, vanilla essence and food colouring. I used pink, but if you’d like alternating layers (black and red would look good for a Queen of Hearts inspired cake), divide the mixture into two bowls first. Whisk for another minute then set aside.
- Add the sugar, baking powder and salt to the flour.
- Cut the butter into small cubes and then add to the flour.
- Using an electric whisk, combine the flour and butter for several minutes until you have a fine crumb. If you are using two different colours, divide this into two bowls.
- Pour in three quarters of the egg white mix and whisk for a further minute.
- Add the rest of the egg whites and whisk for another minute.
- Divide the mixture between the two cake tins, or if you’re using two colours, use one colour mix per tin.
- Bake the cakes in the oven for 25-30 minutes.
- Check that the cakes are cooked by inserting a knife. It should come out clean.
- Allow the cakes to cool in their tins for 5 minutes then remove onto a cooling rack.
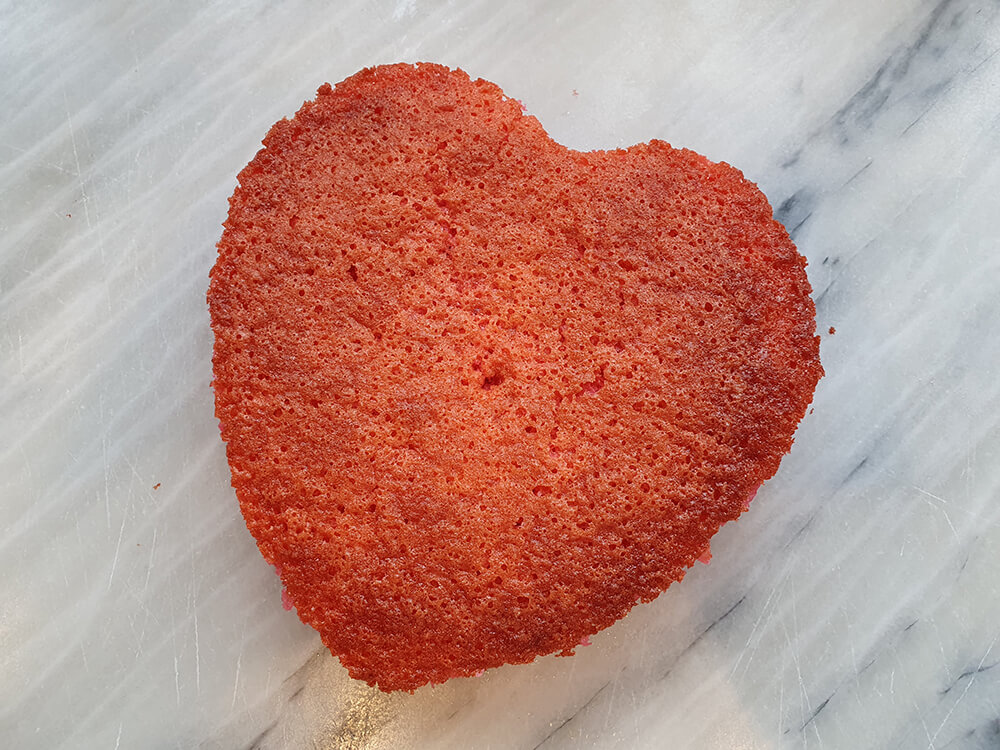
- For the heart shape, I would recommend printing a stencil. Either find a simple heart design online or use the heart shape on Microsoft Word (click Insert then Shapes). If using a picture from the internet, you can adjust the size of it on Microsoft Word by right clicking and selecting Size and Position. I used 15x15cm – you’ll have a little bit of cake left over, but you can always snack on this while you prepare the rest!
- Once they cakes are cool, use the stencil to carefully cut them into heart shapes.
- Now you will need to slice these in half horizontally so that you end up with four sponge layers. To help with this, press toothpicks along the edge of the cake to mark the middle of the sponge. You can use these to guide the knife around the cake so that you end up with flat, even layers. Once you have your four hearts, set them aside and prepare the buttercream.
Buttercream
- In a glass bowl, heat the double cream over a pan of boiling water for 30 seconds, gently stirring.
- Add the white chocolate and continue to stir, ensuring the bottom doesn’t stick.
- Once the chocolate has completely melted and is completely blended with the cream, take off the heat and set aside to cool.
- In a large bowl, cream the butter using an electric whisk. Once you have a smooth consistency, gradually add the icing sugar and beat until creamy.
- Gradually beat in the melted white chocolate.
- Add the vanilla extract and your desired food colouring, then beat until completely blended.
- Add the freeze-dried raspberry pieces and fold in until evenly distributed.
Assemble the cake
- To assemble the cake, spread a layer of jam on three of the hearts, leaving one plain for the top.
- Spread a layer of buttercream over the jam.
- On a plate or cake stand, layer the hearts on top of one another. If you’re using two colours, alternate between the two.
- Ensure that the layers are lined up correctly, then carefully begin to cover the cake with buttercream. Don’t worry about using too much for now, just focus on evenly distributing so that the entire cake is coated.
- Using a palette knife, smooth the edges of the cake, setting aside any leftovers (this can be eaten with the cake scraps from earlier!).
- Using a skewer on the top of the cake, carefully make a hole in the middle just deep and almost wide enough for the birthday candle. Slide the candle in; you should have about half a centimetre of the candle poking out of the top, not including the wick.
- The cake must now chill for a few hours in the fridge, or overnight, to allow the buttercream to set. This will be important for the ganache drips.

Ganache drips
- Once the cake is chilled you can prepare the ganache topping.
- In a glass bowl, heat the double cream over a pan of boiling water for 30 seconds, like you did for the buttercream. Add the white chocolate and stir until you have a smooth consistency.
- Remove from the heat and then add your desired food colouring.
- The ganache should be viscous enough that it will slowly drip. As it cools it will thicken, so keep an eye on it, and if it remains too runny you may wish to add a little more chocolate. If it is too thick, add a little cream.
- Once it is almost at room temperate it will be ready.
- Remove the cake from the fridge.
- You can use a spoon to apply the ganache, although I used a clean old ketchup bottle (any squeezy bottle will do) to ‘pipe’ it.
- Work your way around the top edge of the cake, occasionally bumping a little ganache over the edge so that it will begin to drip down the side.
- Spoon or squeeze the rest of the ganache over the top of the cake and smooth over using the back of a spoon so that you have an even layer.
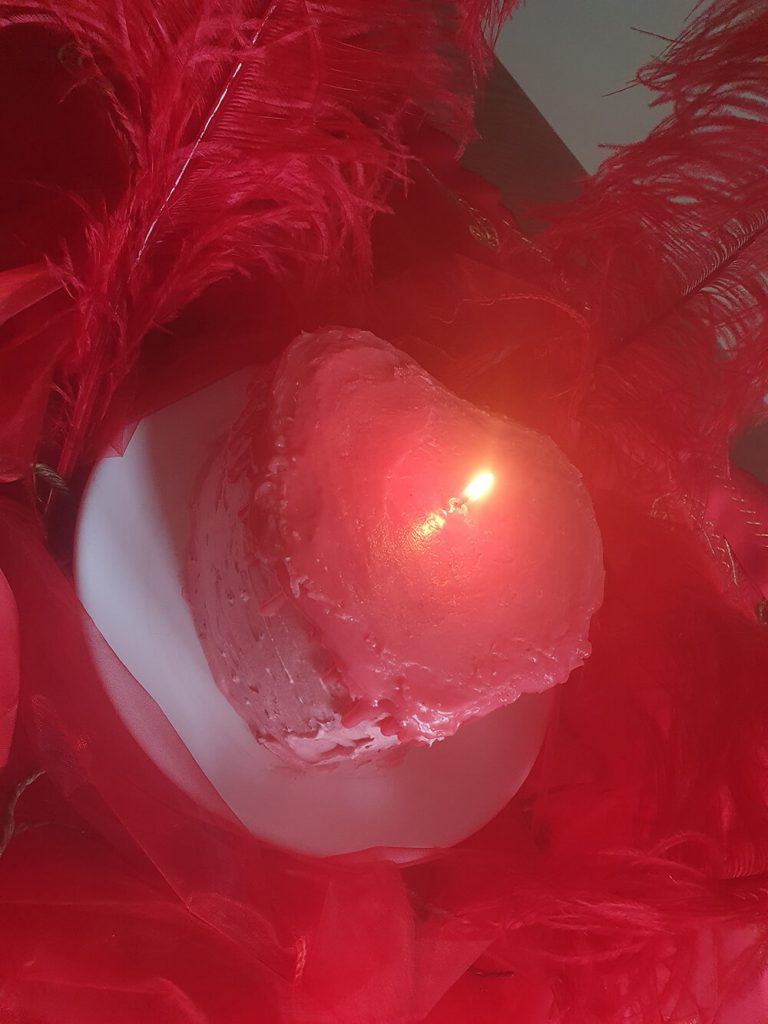
- Allow the ganache to set, and voila! Your very own edible heart-shaped candle cake.
WORDS Andy Porter