WORDS Richard Groom
As we move into autumn, many of us will be turning our attention to jobs around the home rather than the garden. Even the most seasoned of us can learn a new trick or two, so here’s a total of 21 DIY tips and hacks to help you tackle your DIY tasks this month.
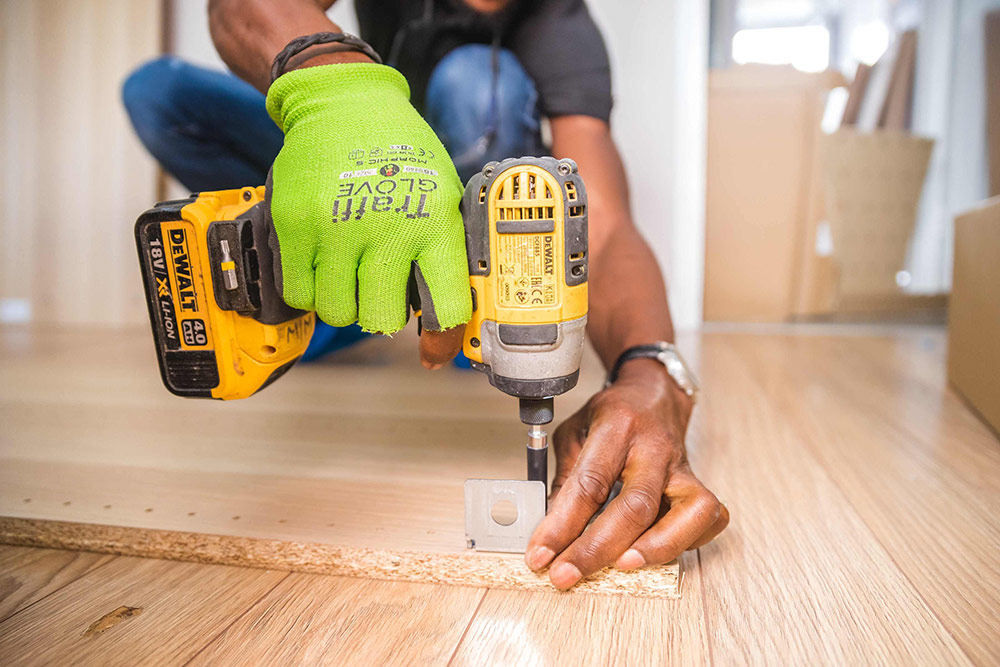
Stop splitting wood with screws. When screwing into wood, rub the threads of the screw with some wax or soap to help the screw turn more easily and reduce the chance of splitting the wood. It’s also a good idea to drill a pilot hole first, with a drill bit the same diameter as the central shank of the screw. Using a countersink can also prevent splits: a hand countersink tool is often quicker than having to keep fitting and removing a countersink bit in your drill.
And stop splitting wood with nails! An old carpenter’s trick is to tap the pointed end of nails with a hammer before driving them into wood. It may sound odd, but it really does reduce the chance that the nail will split the wood.
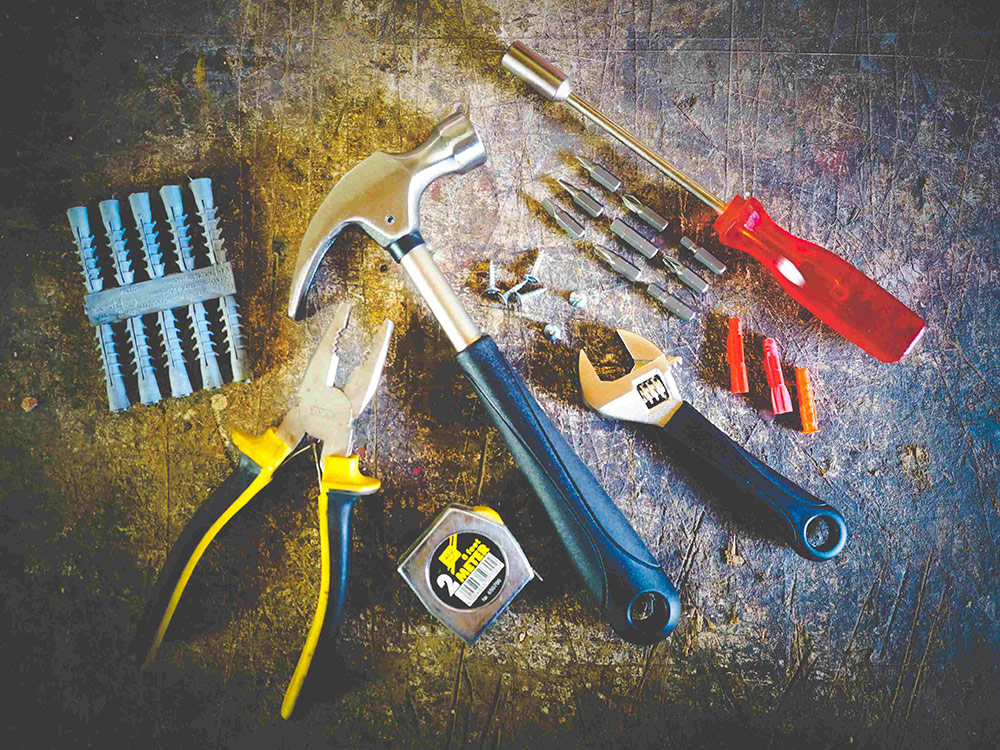
Hammer nails in straight, safely. If you are hammering in small nails that are a bit fiddly to hold with your fingers, hold them steady with a clothes peg or pliers instead. You’ll also be less likely to break a finger with your hammer!
Filling holes in wood. There are a few alternatives to using commercial filler when you’re faced with holes in wood. One of the best is to simply mix sawdust and white wood glue to make a great wood filler. You can also press toothpicks, matchsticks or wooden golf tees into small holes with a little glue and saw them flush when the glue dries.
Getting a tighter fit with wood screws. If an existing hole or one you’ve drilled is slightly too large for your screw, rub a coat or two of superglue or nail varnish around the inside of the hole with a toothpick. Let it dry before driving in your screw and it could be just enough for a tighter fit.
Drilling and screwing into old bricks. Ever caused lots of mess and destruction when using the aggressive hammer setting on your drill? In older houses in particular, try using the regular drill setting first. You might not need to use the hammer setting at all. And when it comes to screwing into old bricks, try fitting wall plugs (Rawlplugs) along the length of the screw with the bottom cut off the plugs. This will often give you a much tighter fit than just relying on one plug at the screw tip.
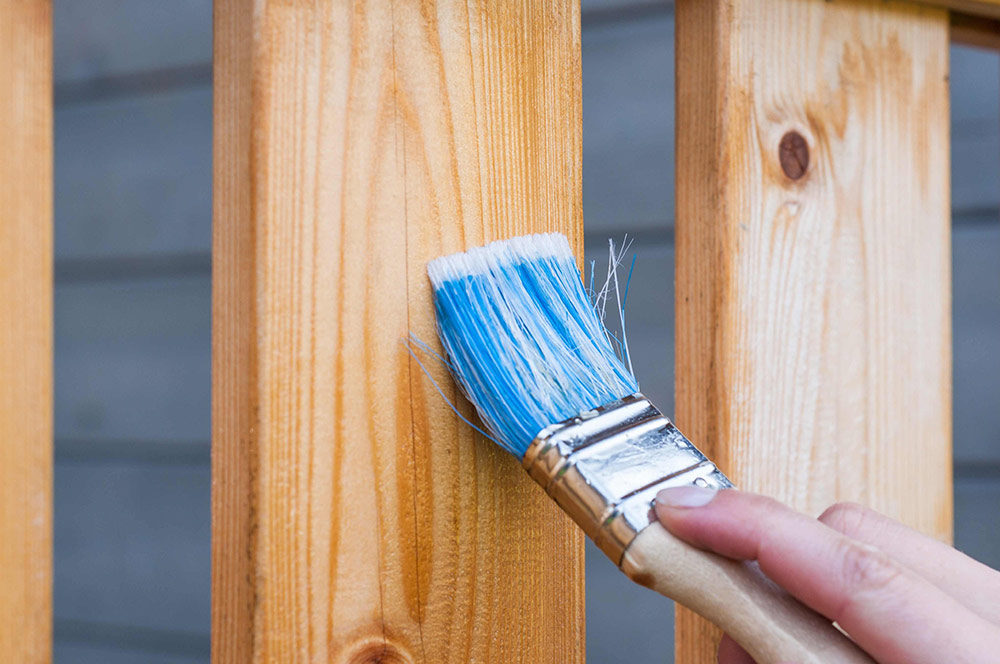
Making paint brushes last longer. If you are painting and need to do a second coat, wrap your brush in clingfilm or a plastic bag to keep it moist. If you want to stop it from drying out overnight, let the brush sit in a jar of water. Both these methods will save you from having to clean the brush properly until the job is finished. In the case of oil-based paints, it also reduces how much you spend on white spirit or thinner.
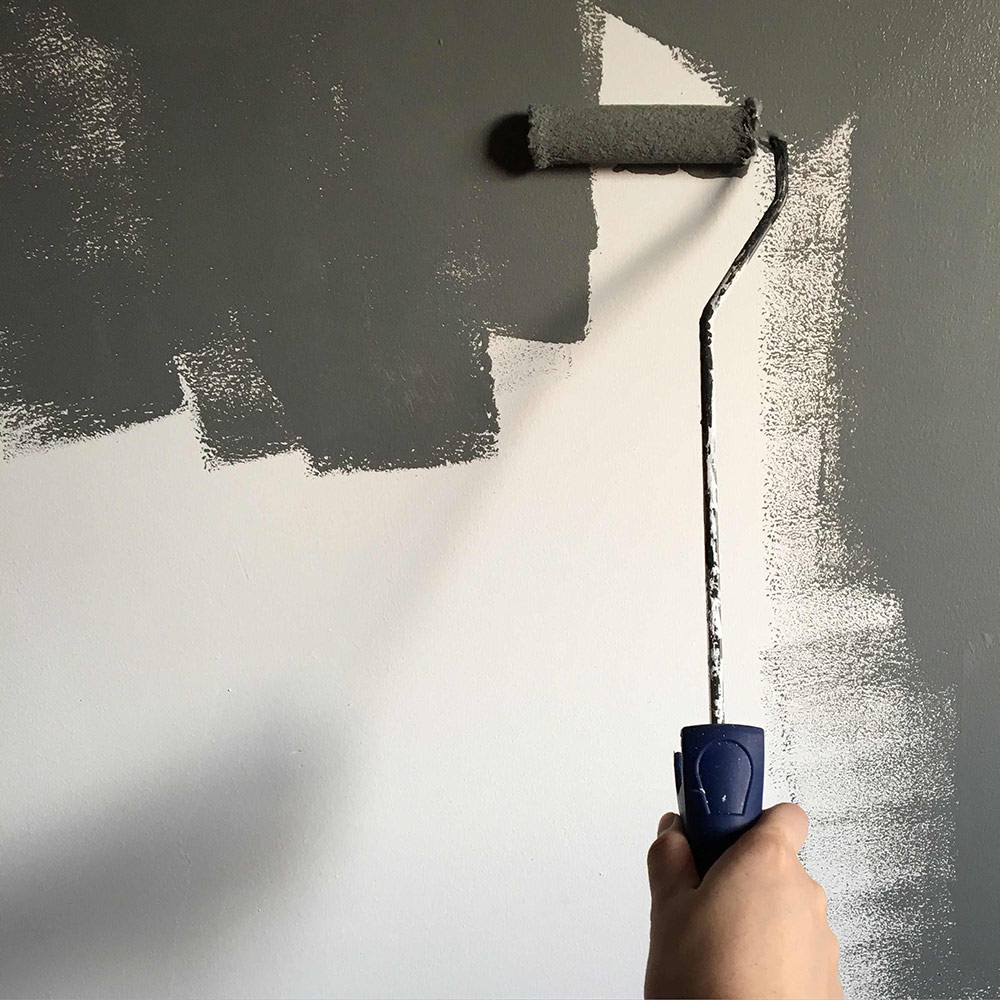
Keep your paint fresh. Store tins of paint upside down to ensure an airtight seal around the lid. You can also stretch cellophane over the tin opening before replacing the lid. And do avoid storing paint in sheds or garages where possible, as cold temperatures can ruin paint: room temperature (around 20 degrees Celsius) is best for most paint.
Choose the right paint brush. Most paints these days are water-based, including emulsion and water-based gloss paints. You’re likely to find that brushes with synthetic bristles suit these paints best. For oil-based paint, a natural bristle brush tends to work best. Using the right brush for the paint makes it easier and faster to get a better finish.
Make your own low-tack masking tape. Specialist low-tack tape is great for preventing the problem of ripping paint off when removing the tape. But if you don’t have any around, you can stick regular tape to your shirt sleeve or trousers first before applying it to the surface. This reduces the stickiness just enough to protect delicate surfaces.
Measuring more accurately. If you are measuring up several times in a job, for example measuring spaces and then cutting wood to fit, always use the same tape measure throughout. Tape measures from different manufacturers can differ slightly, so using the same one means you’ll at least be consistently inaccurate!
DIY spirit levels. If you need to get a surface level but don’t have a spirit level handy, download a spirit level app on your smartphone. Or, for a more traditional hack, lay a piece of glass on the surface (for example from a picture frame) and place a marble on the glass. You’ll get a good idea of where you need to adjust things from where the marble is rolling.
Strengthen your sandpaper. Reduce tears in your sandpaper by reinforcing the smooth side with strips of gaffa/duct tape before use. You can make sandpaper last two or three times as long with this simple trick.
What are your favourite DIY tips? Head over to the Local View Facebook page and share them with our readers.


